Spring Boot整MyBatis
随着 Spring Boot 越来越流行,越来越多的被厂商及开发者所认可,MyBatis 也开发了一套基于 Spring Boot 模式的 starter:mybatis-spring-boot-starter。本节我们就介绍下如何在 Spring Boot 项目中整 MyBatis。
引入依赖
Spring Boot 整 MyBatis 的步,就是在项目的 pom.xml 中引入 mybatis-spring-boot-starter 的依赖,示例代码如下。
<!--引入 mybatis-spring-boot-starter 的依赖-->
<dependency>
<groupId>org.mybatis.spring.boot</groupId>
<artifactId>mybatis-spring-boot-starter</artifactId>
<version>2.2.0</version>
</dependency>
配置 MyBatis
在 Spring Boot 的配置文件(application.properties/yml)中对 MyBatis 进行配置,例如指定 mapper.xml 的位置、实体类的位置、是否开启驼峰名法等等,示例代码如下。
###################################### MyBatis 配置######################################
mybatis:
# 指定 mapper.xml 的位置
mapper-locations: classpath:mybatis/mapper/*.xml
#扫描实体类的位置,在此处指明扫描实体类的包,在 mapper.xml 中就可以不写实体类的全路径名
type-aliases-package: net.biancheng.www.bean
configuration:
#默认开启驼峰名法,可以不用设置该属性
map-underscore-to-camel-case: true
注意:使用 MyBatis 时,必须配置数据源信息,例如数据库 URL、数据库用户型、数据库密码和数据库驱动等。
创建实体类
在指定的数据库内创建一个 user 表,并插入一些数据,如下表。id | user_id | user_name | password | |
|---|---|---|---|---|
1 | 001 | admin | admin | 1234567@q网站站点" rel="nofollow" /> package net.biancheng.www.bean; public class User { private Integer id; private String userId; private String userName; private String password; private String email; public Integer getId() { return id; } public void setId(Integer id) { this.id = id; } public String getUserId() { return userId; } public void setUserId(String userId) { this.userId = userId == null ? null : userId.trim(); } public String getUserName() { return userName; } public void setUserName(String userName) { this.userName = userName == null ? null : userName.trim(); } public String getPassword() { return password; } public void setPassword(String password) { this.password = password == null ? null : password.trim(); } public String getEmail() { return email; } public void setEmail(String email) { this.email = email == null ? null : email.trim(); } } 创建 Mapper 接口 在 net.biancheng.www.mapper 中创建一个 UserMapper 接口,并在该类上使用 @Mapper 注解,代码如下。 package net.biancheng.www.mapper; import net.biancheng.www.bean.User; import org.apache.ibatis.annotations.Mapper; @Mapper public interface UserMapper { //通过用户名密码查询用户数据 User getByUserNameAndPassword(User user); }
创建 Mapper 映射文件 在配置文件 application.properties/yml 通过 mybatis.mapper-locations 指定的位置中创建 UserMapper.xml,代码如下。
2. 在 net.biancheng.www.service.impl 包中创建 UserService 接口的实现类,并使用 @@Service 注解将其以组件的形式添加到容器中,代码如下。
3. 修改 LoginController 中的 doLogin() 方法 ,代码如下。
4. 启动 Spring Boot,浏览器地址栏输入“http://localhost:8080/” ,访问 AdminEx 系统的登陆页面,分别输入用户名“user”和密码“123456”,结果下图。 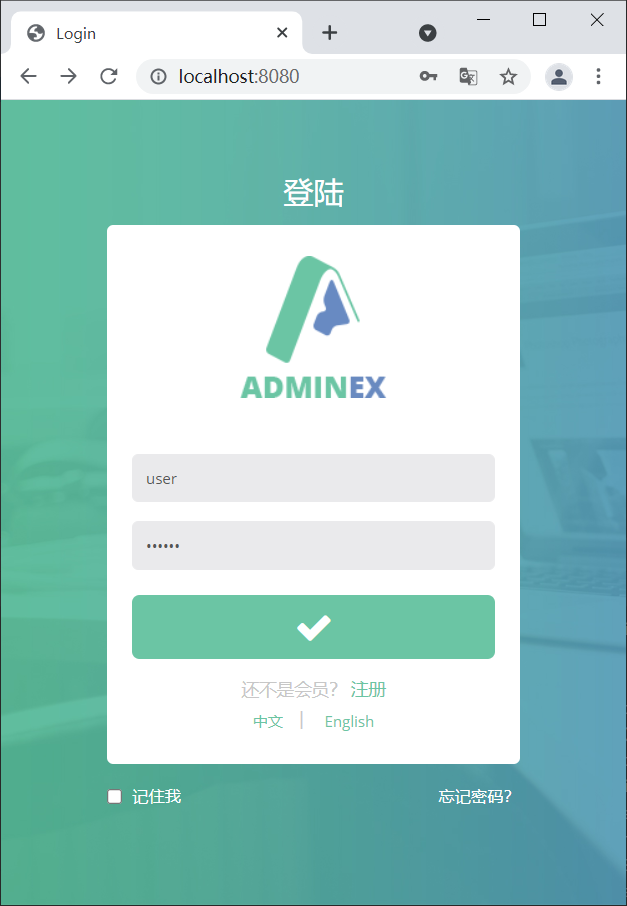 图1:登陆页 5. 点击登陆按钮,结果如下图。  图2:登陆成功 注解方式 通过上面的学习,我们知道 mapper 映射文件其实就是一个 XML 配置文件,它存在 XML 配置文件的通病,即编写繁琐,容易出错。即使是一个十分简单项目,涉及的 SQL 语句也都十分简单,我们仍然需要花费一定的时间在mapper 映射文件的配置上。为了解决这个问题,MyBatis 针对实际实际业务中使用最多的“增伤改查”操作,分别提供了以下注解来替换 mapper 映射文件,简化配置:
通过以上注解,基本可以满足我们对数据库的增删改查操作,示例代码如下。
注意事项 mapper 接口中的任何一个方法,都只能使用一种配置方式,即注解和 mapper 映射文件二选一,但不同方法之间,这两种方式则可以混使用,例如方法 1 使用注解方式,方法 2 使用 mapper 映射文件方式。我们可以根据 SQL 的复杂程度,选择不同的方式来提高开发效率。
|